EUDIW Unfold
A space to connect ideas, partners, and technologies.
About EUDIW Unfold
The EUDIW Unfold initiative is an open space for collaboration around the European Digital Identity Wallet.
Born from the France Identité ecosystem, it brings together public authorities, private actors, and developers across Europe to make the Wallet real, through shared understanding, practical experimentation, and cross-border testing.
Each Unfold event focuses on a concrete topic — architecture, interoperability, use cases — crating a bridge between the regulation and real-world implementation.
This website gathers all essential resources, open-source tools, event material, and a playground to help you test, connect, and build within the EUDIW ecosystem.
About us
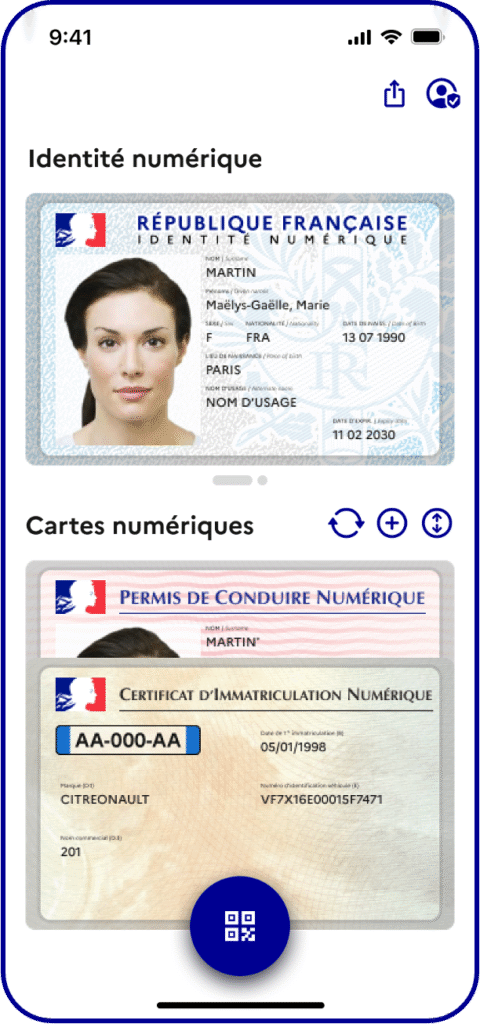
France Identité is the national program led by the French Ministry of the Interior to deliver a secure, privacy-preserving digital identity to all citizens.
As part of its European engagement, France Identité coordinates large-scale pilots and contributes actively to the implementation of the European Digital Identity Wallet (EUDIW) across Member States.
Through EUDIW Unfold, we want to facilitate, connect, and catalyze the implementation and adoption of the EUDI Wallet.
Frequently asked questions
Who can take part in this?
Everyone with an interest in the European Digital Identity Wallet is welcome.
Whether you are a technology provider, a service provider or a future credential issuer, the goal is to learn, test and build together.
What makes EUDIW Unfold open?
The initiative was designed to promote transparency and collaboration across Europe. All sessions, resources, and demos are shared publicly. Open-source tools are freely accessible, and technical results are meant to benefit the entire ecosystem, not just one project or Member State.
What type of activities are organized?
EUDIW Unfold hosts:
- Quarterly events to gather the whole ecosystem
- Technical interoperability testing sessions
- Workshops and demos on topics such as UI/UX and banking
How can I get involved?
Getting involved is easy — the whole initiative is open by design.
You can join our next event, deploy your implementation in our playground to promote it, or test your implementation against the already deployed interfaces.
Want to know more and contribute?
Reach out to us.